As the leaves change color and a chill fills the air, homeowners begin their annual winter preparations. This often includes tasks like insulating pipes and checking furnaces. One crucial, yet frequently overlooked task is winterizing your water heater. If you plan to be away from home for an extended period during the colder months, understanding how to winterize a tankless water heater for your Atlanta, GA home can protect this essential appliance from cracked pipes, water leaks, and other costly repairs. Below, we’ll walk you through what winterization is, why it’s so important in places like Atlanta, and provide a step-by-step process to protect your investment.
What Is Winterization and Why Is It Important?
Winterization is the process of preparing your tankless water heater to withstand cold temperatures, particularly when it won’t be in use for a while. This involves draining all water from the unit to prevent it from freezing, expanding, and cracking or bursting internal components. While Atlanta’s winters are milder than those in northern states, the city is still prone to occasional freezing spells where temperatures drop below 32 degrees.
For tankless water heaters, especially those installed in unheated spaces like garages, basements, or on exterior walls, these cold snaps pose a significant risk. Unlike traditional tank heaters, which hold a large volume of water and have more insulation, tankless units have intricate networks of small pipes and a heat exchanger that are highly susceptible to freezing damage. Even a small amount of water left inside can freeze and expand, exerting immense pressure on internal mechanisms and leading to:
- Cracked Heat Exchanger – The most critical and expensive component of the unit. A damaged heat exchanger often means the entire unit needs to be replaced.
- Burst Pipes – The small water lines leading to and from the unit can rupture, causing major leaks and potential water damage to your home.
- Voided Warranties – Many manufacturer warranties do not cover damage caused by freezing, leaving you to pay the full cost of repairs or replacement.
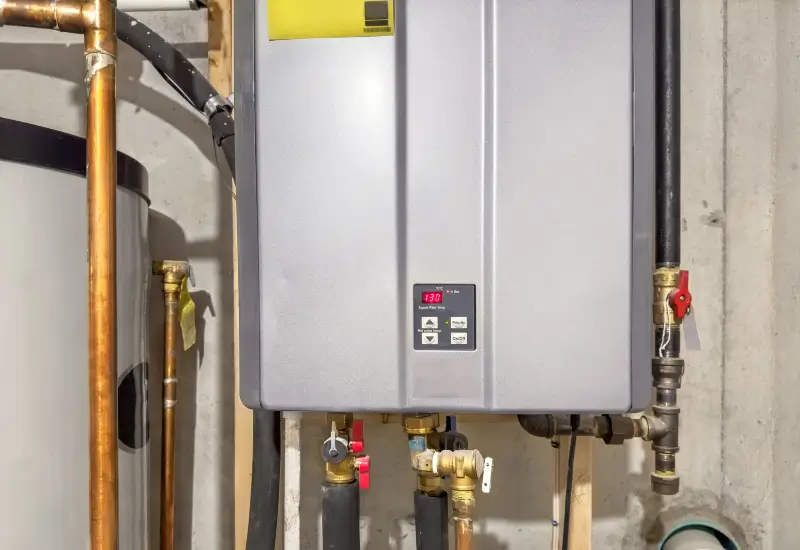
Steps to Winterize Your Water Heater
Winterizing a tankless water heater is a straightforward process that most homeowners can handle without professional help. Before you begin, gather the necessary tools: a bucket, an adjustable wrench, and a small air compressor or shop vac. Always consult your owner’s manual for model-specific instructions, as some steps may vary slightly. Perform the following:
- Turn Off the Power Supply – The first and most important step is to cut all power to the water heater. For an electric unit, locate the corresponding breaker in your home’s electrical panel and switch it to the off position. For a gas unit, turn off the gas supply by rotating the valve on the gas line to the perpendicular (off) position.
- Shut Off the Water Supply – Locate the main water shut-off valve for your home and turn it off. This will stop any new water from entering the system while you work. Afterward, find the cold-water inlet valve connected to your tankless unit and close it. This valve is typically marked with a blue handle or ring.
- Open Hot Water Taps – To help the unit drain completely, go to a sink or bathtub inside your home and open a hot water tap. This relieves pressure in the system, allowing air to enter the lines and help push the remaining water out of the heater. Leave the tap open until you’ve finished the winterization process.
- Drain the Water Heater – Now it’s time to drain the unit. First, locate the purge or drain valves on both the hot and cold-water lines. If your valves have hose connections, attach a short hose and place the other end in a bucket to catch the water. Next, open the purge port valves. Once the purge valves are open, open the main hot and cold service valves to allow water to flow into your bucket. Next, locate the cold-water inlet filter. Place your bucket underneath it and carefully unscrew the filter to drain trapped water.
- Remove Any Remaining Water – Although most water will drain out, some residual moisture may remain. To ensure the unit is completely dry, you can use an air compressor or a shop-vac. Set the air compressor to a low pressure (under 50 PSI) and blow air into the hot water outlet to force out any remaining droplets. If using a shop-vac, set it to the “blow” function.
- Close Valves and Disconnect – Once you’re confident all the water has been removed, close the drain and service valves. Disconnect any hoses you used. You can leave the power and water supply off until you’re ready to use the heater again.
Frequently Asked Questions
Can I hire a professional to winterize my water heater?
Absolutely. If you’re not comfortable performing the steps yourself or want to ensure it’s done correctly, a licensed plumber can winterize your unit. This is a good option if you want complete peace of mind.
What if I have an outdoor tankless water heater?
Outdoor units are designed to withstand more extreme weather, but they’re still at risk during prolonged power outages in freezing conditions. The winterization process remains the same, but it’s even more critical for outdoor models, as they’re directly exposed to the elements.
Protect Your Home for the Winter
Learning how to winterize a tankless water heater is a valuable skill for any homeowner in the Atlanta area. It’s a simple, preventative measure that can save you from the headache and expense of burst pipes and a damaged appliance. By following these steps, you can leave your home for the winter knowing your tankless water heater is safe and will be ready to provide hot water the moment you return. If you run into any issues, contact Quick Action Plumbers. A small service fee is a worthwhile investment compared to the potential cost of replacing a frozen, damaged unit.